Made to measure blackout shades are designed for the dimensions of a specific window, rather than selected from a limited set of stock sizes. That tailored fit can help reduce side gaps, improve privacy, and control glare, but the shade style, mount, fabric, and installation details all matter. The right choice starts with how you use the room and what you expect “blackout” to mean.
Call Vineyard Blind & Shutter at (951) 757-4188 to discuss your windows.
What do made to measure blackout shades change?
A ready-made shade is offered in preset widths and lengths. If your window falls between sizes, you may have to choose a narrower shade that leaves wider gaps or a larger one that needs adjustment. A made-to-measure shade is specified for the window and mounting arrangement, which gives the installer a more precise starting point.
That precision is useful for more than appearance. Shade width, headrail placement, brackets, trim, and how the window opens influence the finished result. A custom-size product can be planned around those conditions. It does not mean that every ray of light will disappear: light can still enter around the edges, through small installation gaps, or through other openings in the room.
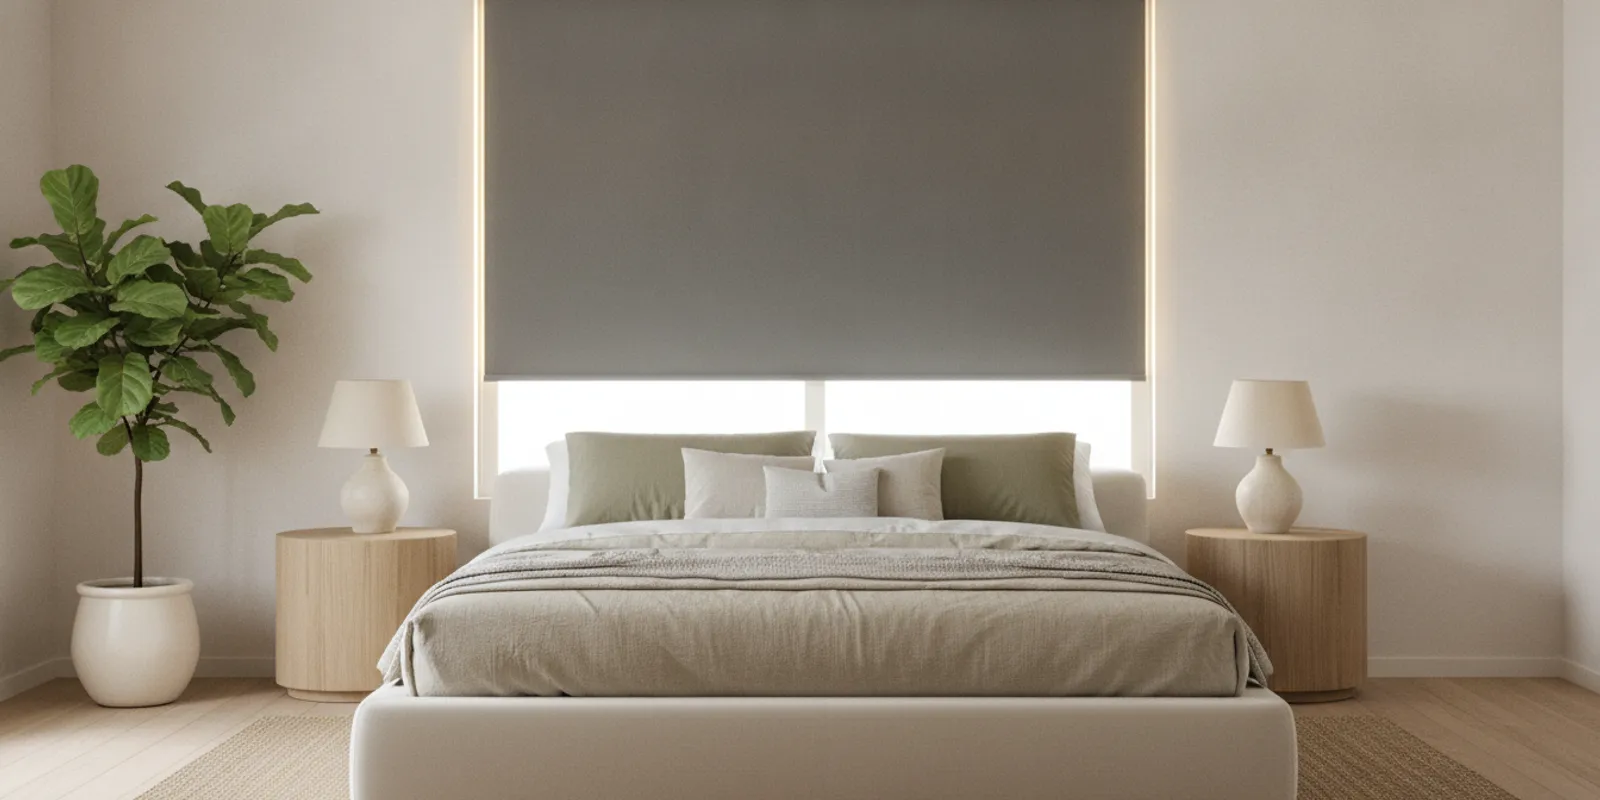
Q: Do made-to-measure blackout shades guarantee a completely dark room? A: No. They can substantially limit light through the shade fabric, but edge gaps and the room layout affect the result. Ask for the intended level of darkness and how the proposed mount addresses side light.
Blackout describes light control, not a guaranteed level of heat reduction. A shade may reduce glare and incoming light, but do not assume it will block heat or provide a specific thermal benefit unless product specifications support that claim.
How can a tailored fit help with light and privacy?
When a shade is too narrow for its opening, visible strips of glass may remain at either side. Those gaps can admit daylight and allow people outside to see into the room at certain angles. A made-to-measure shade can be sized to suit the chosen inside- or outside-mount arrangement, helping manage those gaps.
An inside mount sits within the window frame. It keeps the treatment visually contained and preserves more of the trim, but the frame must have enough depth and a suitable shape. Even a well-fitted inside mount can have a small perimeter gap because the shade needs clearance to operate.
An outside mount attaches above or beyond the frame. Depending on the available wall space and product design, it may overlap the opening more than an inside mount and help limit visible edge light. It also covers more of the trim and changes the look of the window. The best choice depends on the opening, obstructions, and the desired appearance.
- For light control: Consider how much overlap the mount can provide and whether the shade fabric is opaque.
- For privacy: Check the view into the room from the street or neighboring windows, both during the day and at night.
- For daily use: Confirm that the shade clears handles, locks, and window cranks.
- For a coordinated look: Compare the headrail, brackets, and fabric against the room and adjacent treatments.
Existing curtains or shades may not provide a full blackout. A government publication on hospital protection notes that existing shades and curtains may not be satisfactory for blackout purposes when they do not extend sufficiently beyond the opening. The exact overlap needed depends on the situation and should be planned for the window and product.
Read the government guidance on blackout coverage.
Which blackout shade style should you compare?
“Blackout” is a light-control goal, not one particular construction. Compare how each style fits your window, how it operates, and what you want the room to look like. Ask for the specific fabric and system details rather than assuming all products described as blackout perform identically.
| Style | What to consider | Potential fit |
|---|---|---|
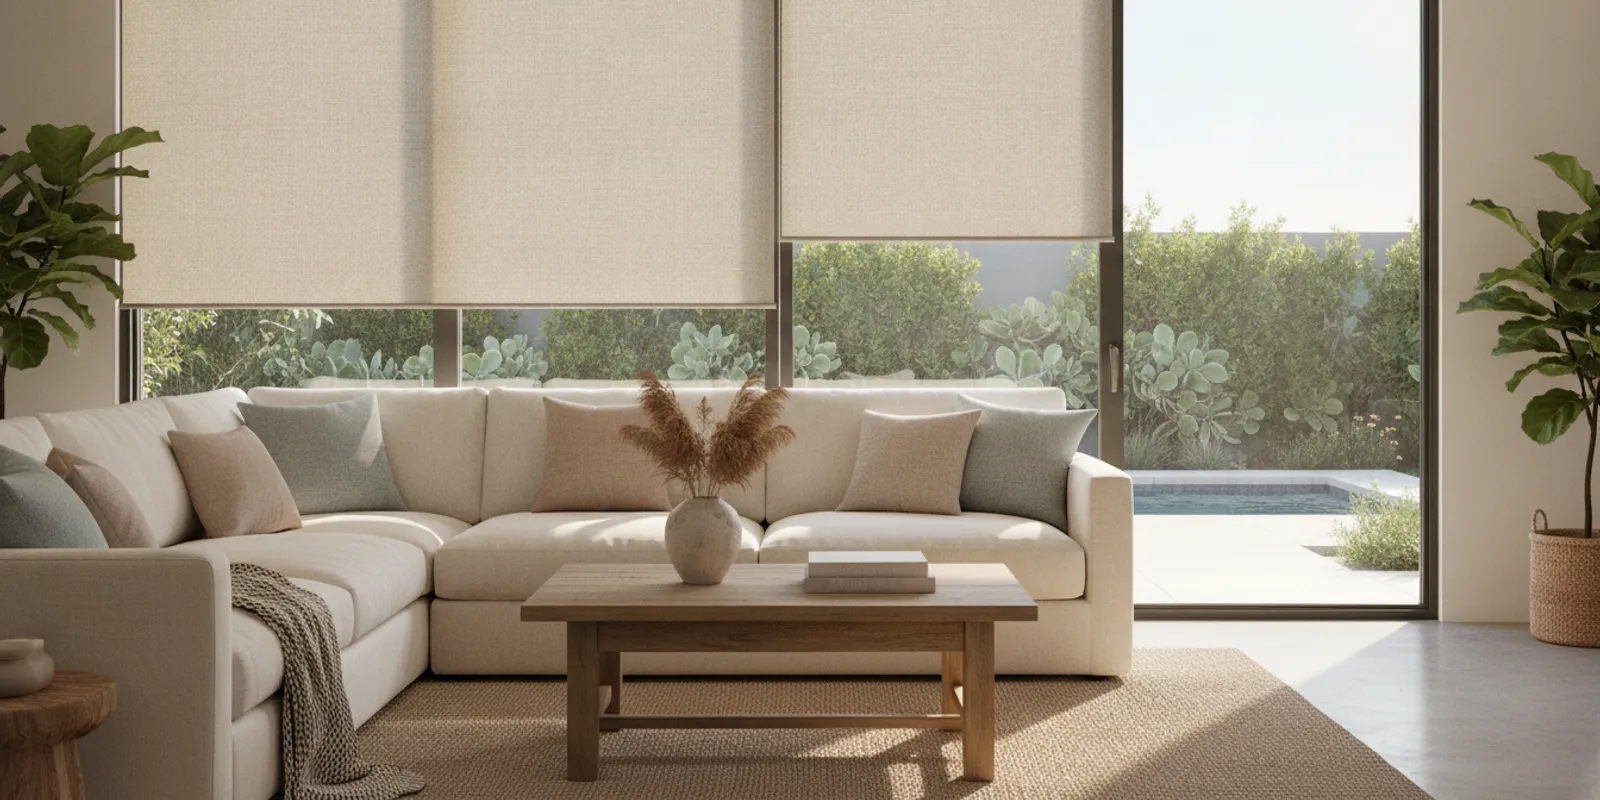
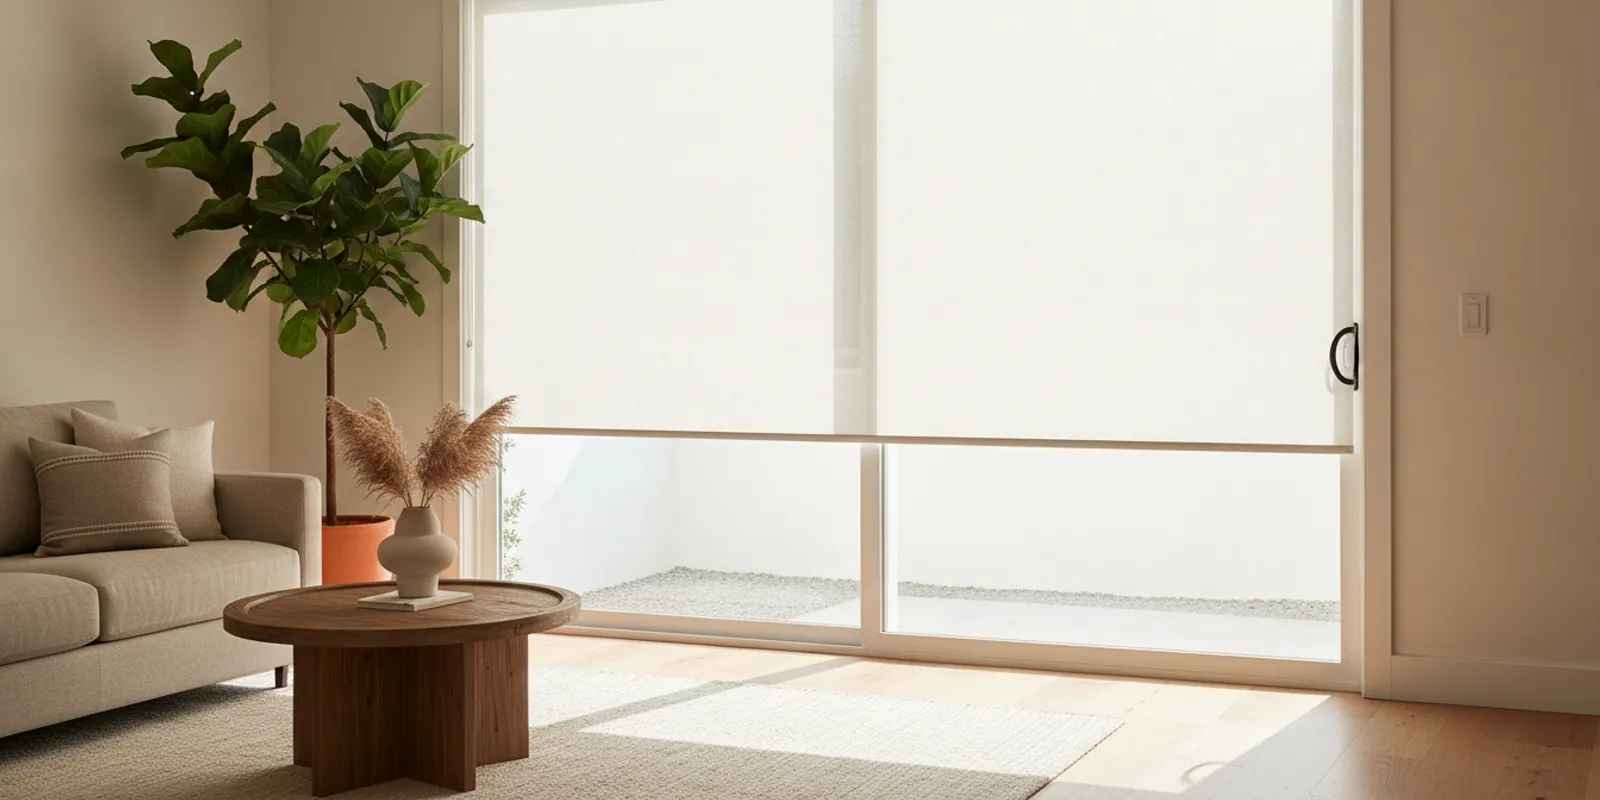
| Roller shade | Simple profile; check side gaps, fabric opacity, and mount overlap. | Clean lines and straightforward operation. |
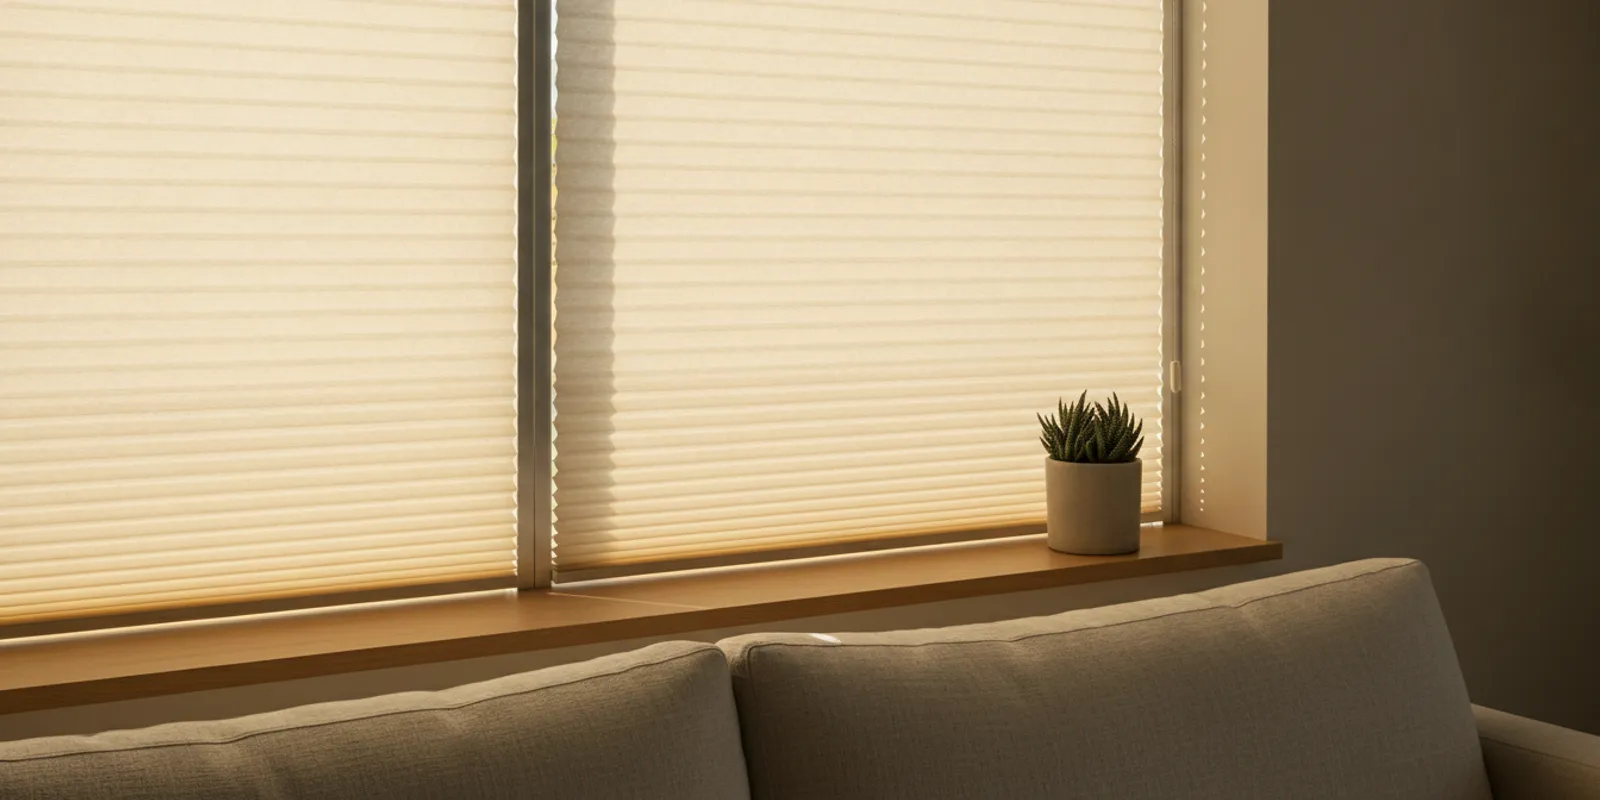
| Cellular shade | Compare cell structure, fabric opacity, stack height, and available operating options. | Rooms where a softer, structured shade is preferred. |
| Pleated shade | Review the fabric, fold appearance, and how the shade stacks when raised. | Windows where a crisp folded look suits the decor. |
| Roman shade | Consider how folds stack, the fabric’s face, and the space above the window. | A softer, fabric-forward appearance. |
Measurements alone do not determine which style is suitable. A deep frame might make an inside mount possible, while a shallow or uneven frame may call for another approach. A handle or nearby wall can also affect the shade’s path. Ask to see the proposed system and discuss how it will operate before settling on a fabric.
Explore custom shades and learn about different indoor shade types. To compare a broader mix of products, see window coverings compared.
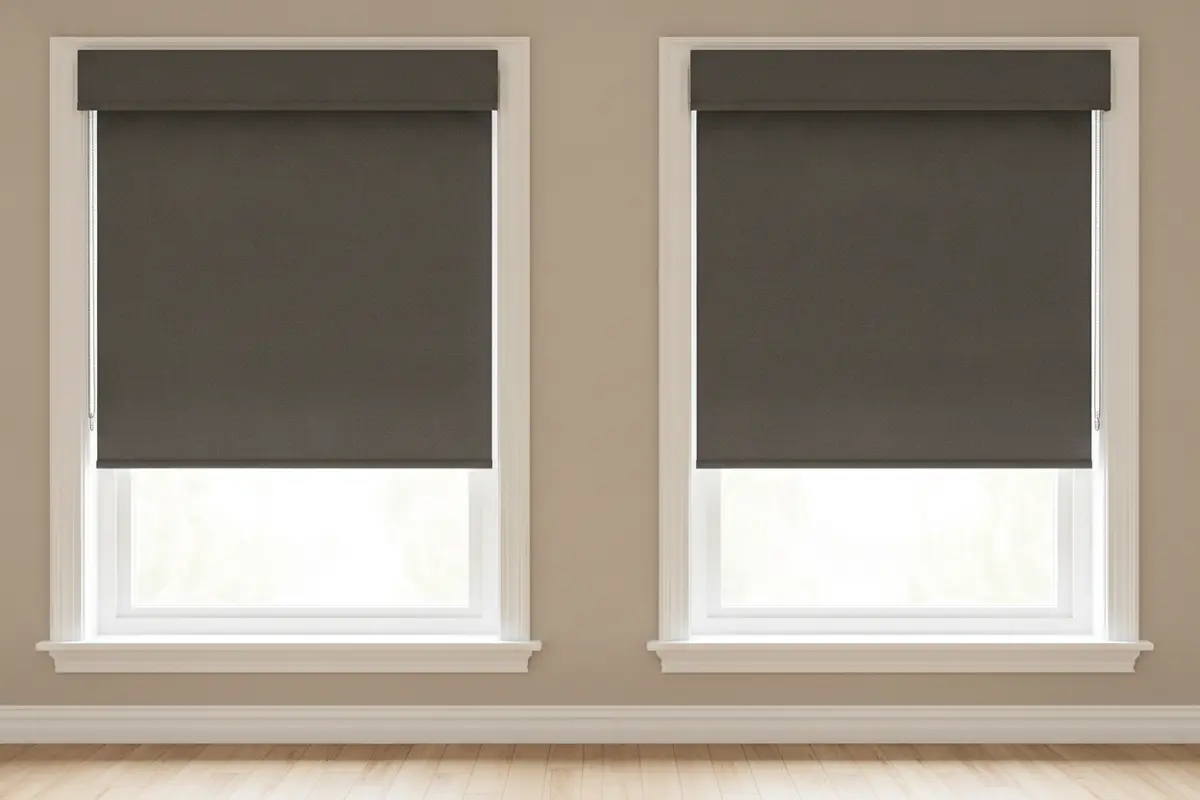
What should you decide before measuring?
Before anyone measures, clarify the job the shade needs to do. “Make the room darker” can mean limiting morning sun, reducing distracting glare, improving nighttime privacy, or creating a darker environment for rest. Each goal points to slightly different priorities. List the most important need first so it guides choices instead of being lost among fabric colors.
- Identify the room and routine. Note when direct sun enters and whether the shade will be opened and closed daily.
- Set a light-control expectation. Decide whether you want substantial darkening or simply less glare. Ask what visible edge light to expect.
- Choose mount priorities. Decide whether preserving trim, reducing gaps, or clearing window hardware matters most.
- Review operation. Consider reach, child access, and whether a manual or motorized control is appropriate for the window.
- Think through the room. Note nearby doors, furniture, alarm sensors, and adjoining windows that influence installation.
For bedrooms, assess exterior light at the time you are most likely to be resting. In a media or work room, focus on reflections on screens and the direction of sun. In a nursery or guest room, consider privacy and simple operation as well as darkness. There is no single correct darkness level for every room.
How should you measure a window for made-to-measure shades?
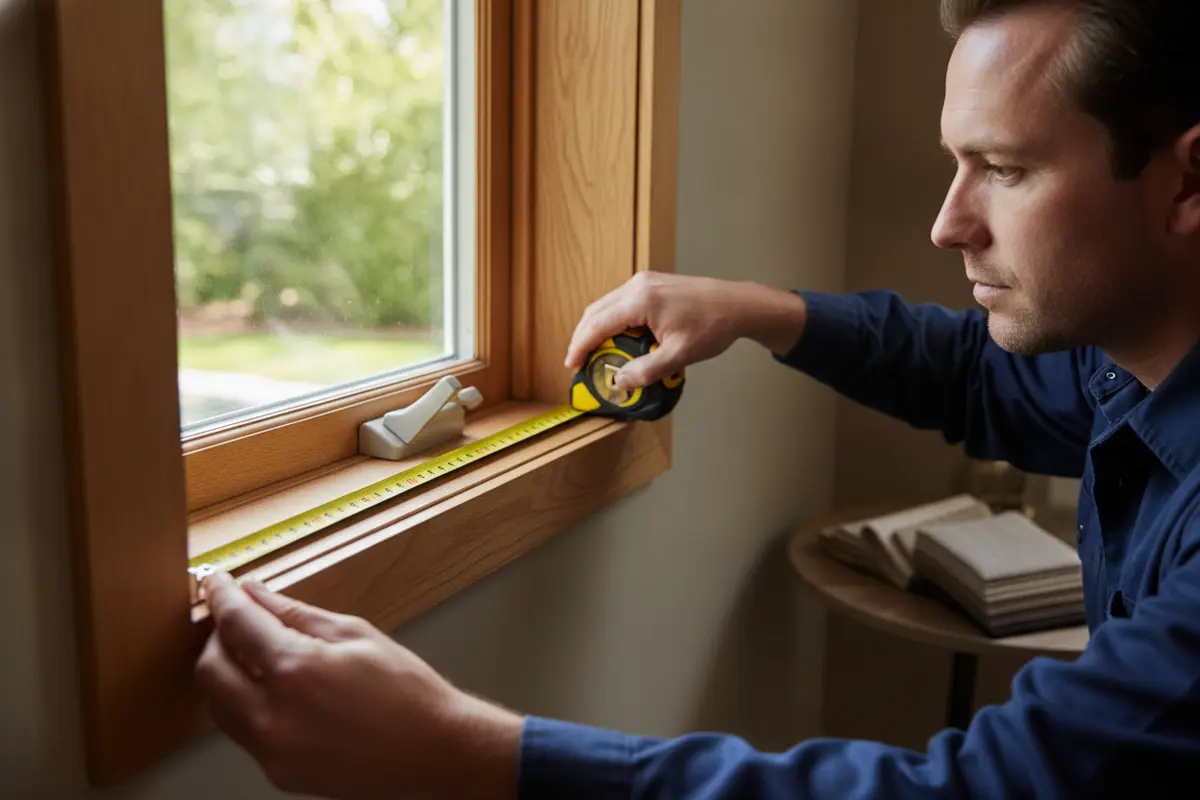
Accurate measuring begins by deciding whether the shade will sit inside or outside the frame. Do not measure casually and order based on one dimension: window openings can vary from top to bottom and side to side. Product instructions determine which dimensions are needed and whether deductions are made by the manufacturer or installer.
- Use a metal tape measure and record dimensions in the unit the supplier requests.
- For an inside mount, measure the width at the top, middle, and bottom; record the narrowest measurement. Measure height at the left, center, and right, and record the required height details.
- Check frame depth and note sloped sills, protruding trim, or other irregularities.
- For an outside mount, record the opening and decide how far the treatment should extend beyond it, subject to available wall space and product guidance.
- Measure each window separately, even when several appear to be the same size.
- Write down the location of handles, locks, cranks, and nearby obstructions.
These are planning points, not a substitute for the product’s measuring instructions. A small measurement error can affect fit or operation. If the window is unusually shaped, the frame is out of square, or you are uncertain about deductions, get professional measuring before ordering. Vineyard offers mobile window treatment services, bringing product samples and measuring to the home.
What belongs on an installation checklist?
Good installation starts with a clear plan, not just a box of hardware. Use this checklist when reviewing the order and scheduling installation:
- Confirm the room and window location for every shade.
- Verify the intended mount type and the measured width and height.
- Check fabric color and opacity against a sample in the room’s lighting.
- Confirm the control side and make sure it is reachable.
- Review clearances around handles, locks, trim, and window operation.
- Ask how the shade should sit when fully lowered and fully raised.
- Confirm whether any furniture needs to move for the installer to reach the window.
- Test the shade through its full travel after installation and report rubbing, uneven movement, or a gap that differs from the agreed plan.
It is also useful to clarify what “blackout” means for the chosen product. Is the fabric intended to prevent light passing through it, or does the expectation include minimizing light around the edges? What mount and overlap are planned? Clear answers help set realistic expectations before the order is placed.
When might another shade be a better choice?
A blackout option is not automatically best for every window. If you want daylight and an outside view during the day, a different shade type may better suit the room. If adjustable slats or a more open look matter more than maximum darkening, compare blinds as well. For windows where softness and layered decor are priorities, consider how a shade will look alongside curtains.
Think about how the room changes across the day. A shade that stays down for long periods may need convenient operation. A window used for ventilation must remain accessible. If the shade’s only purpose is reducing glare, a full blackout fabric could make the room darker than desired. Review the trade-offs with samples and the actual window rather than choosing from a product name alone.
Browse custom blinds if adjustable slats may suit your needs better, or see the window treatment gallery for examples of different styles.
What should you ask before ordering?
Before approving a custom shade, make sure the quote or order captures the important details. Ask what measurements are being used, which mount is specified, and whether the system is designed for an inside or outside fit. Confirm the fabric and control, then ask what level of edge light is realistic.
Also ask who will take final measurements, how installation will be handled, and what to do if a shade does not operate smoothly. Review each window one at a time so the treatment, dimensions, and control are not mixed up between rooms. Take notes or keep a copy of the written specifications.
For an in-home review of samples and fit, contact Vineyard Blind & Shutter to discuss your windows. Vineyard provides free measuring and free installation.
Plan around the window’s dimensions, the room’s purpose, and the amount of edge light you can accept. A careful comparison and clear installation specifications make it easier to choose a shade that works in everyday use.
How do you compare a single window with a whole room?
A decision that works for one window may not be right for every opening in the room. Start by grouping windows according to their role. A large window facing direct morning sun may need more overlap than a small window protected by an overhang. A window beside a bed may make nighttime privacy especially important, while a window across the room may matter more for screen glare. Write down these distinctions before choosing one product specification for the whole space.
Next, check whether matching appearance or tailoring function is the higher priority. Using the same fabric and shade style across a set of windows can create a consistent look, but differences in frame depth or nearby hardware may call for different mount details. A practical plan can keep visible materials consistent while adapting widths, control sides, or mount types where the openings require it. Ask the supplier to label each treatment by room and window so the final order is easy to verify.
For example, imagine two adjacent windows, one with a deep, square frame and one with shallow trim. The first may accommodate an inside mount while the second may need an outside mount to achieve the intended coverage. Rather than assuming the pair must use identical mounting, compare how each option looks from across the room and how much edge light remains. A side-by-side sample or sketch can reveal whether the visual difference is noticeable and whether the functional compromise is acceptable.
What can affect the finished result beyond the shade?
Darkening a room depends on more than the window treatment. Light may enter through a doorway, a transom, an uncovered sidelight, or another window. A bright wall or reflective surface can also make a room appear lighter even after the main opening is covered. If the goal is a darker room for a particular activity, walk through the space at the time you plan to use it and identify the actual sources of light.
Check the full window surround, too. Decorative trim, a deep sill, a sloped frame, or a nearby wall can constrain bracket placement and shade travel. If an outside mount is under consideration, confirm there is adequate clear wall above the opening for the headrail and that the shade can extend far enough without interfering with crown molding or another fixture. For an inside mount, confirm that the frame offers the depth and clearance required by the chosen product, not just a visually appealing recess.
Operation affects satisfaction over time. Consider who will use the shade and whether the control can be reached without leaning over furniture or blocking a walkway. If several windows are close together, decide whether controls should be on the same side for a consistent routine or positioned to avoid handles and furniture. Ask about available control choices for the specific product and explain any access or safety concerns rather than assuming every mechanism is offered for every style.
How can you review samples and specifications at home?
A fabric sample viewed on a screen or under store lighting may look different in the room. Place samples near the window and compare them in daylight and after dark with the room lights on. Look at the color against the walls, flooring, and furnishings. Then inspect the fabric against the light: this helps you understand whether light appears to pass through the material, while remembering that the installed shade’s edge gaps are a separate issue.
Keep a short comparison record for each option. Note the style, color, opacity description, mount, control side, and any expected clearance. If two choices look similar, record the practical difference: one may sit within the frame and preserve trim, while another may cover more of the opening. This makes the decision easier to revisit after comparing multiple windows and reduces the chance of relying on memory alone.
Before placing an order, read the written specifications beside your notes. Confirm that the correct room, window, dimensions, mount, and control are paired together. If anything differs from what you discussed, pause and request clarification before approval. A concise, accurate order is easier to inspect when the product arrives and easier to use as a reference during installation.
How can you inspect the shade after installation?
Once installed, test the shade in the way you expect to use it. Raise and lower it through its full travel, watching for rubbing, tilting, or a control that catches. Look at the edges from the positions that matter in daily life: from the bed, desk, sofa, or entry to the room. Check at the time of day when sunlight is most likely to expose gaps. A small amount of perimeter light may be part of the design, but a noticeable difference from the agreed plan deserves a prompt discussion.
Compare neighboring shades when there is more than one. Their bottom rails should appear appropriately aligned when lowered, and the materials and controls should match the order. If the window opens, operate it as you normally would and confirm that handles and locks remain usable. Keep the product details and care instructions together so you can identify the style and fabric if you need help later.
Finally, judge the result against the goal you set at the start, not an absolute promise of darkness. If the main aim was to reduce glare at a desk, check the screen during the hours that previously caused reflections. If privacy was the priority, view the room from outside after dark while interior lights are on. This simple review helps distinguish a successful shade from a separate light source or a room condition that may need another solution.
Call Vineyard Blind & Shutter at (951) 757-4188 to discuss made-to-measure shades.